How do I add and/or delete income and expense items within cash flow exhibits?
The cash flow exhibits have sections on the left and right-hand side of each page that allow you to edit your image.
The section on the left-hand side corresponds to "Income" items, while the section on the right-hand side will house "Expense" items:

You can add a new income source or new expense by clicking on the "Add" button in the appropriate column.
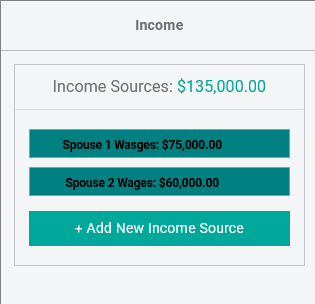
In the Income column, you will see the sum total of all income sources:
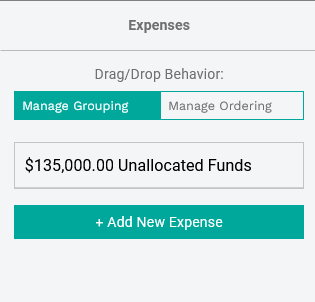
In the Expense column, you will see the dollar amount of any Unallocated funds, which will reflect the dollars left over after subtracting any listed expenses from the total amount of income sources. Because we haven't added any expenses yet, with a total income of $135,000, we also see $135,000 of Unallocated Funds:
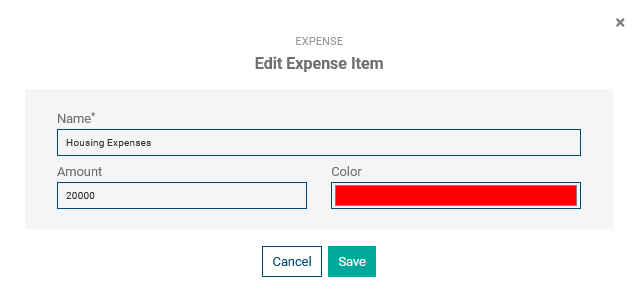
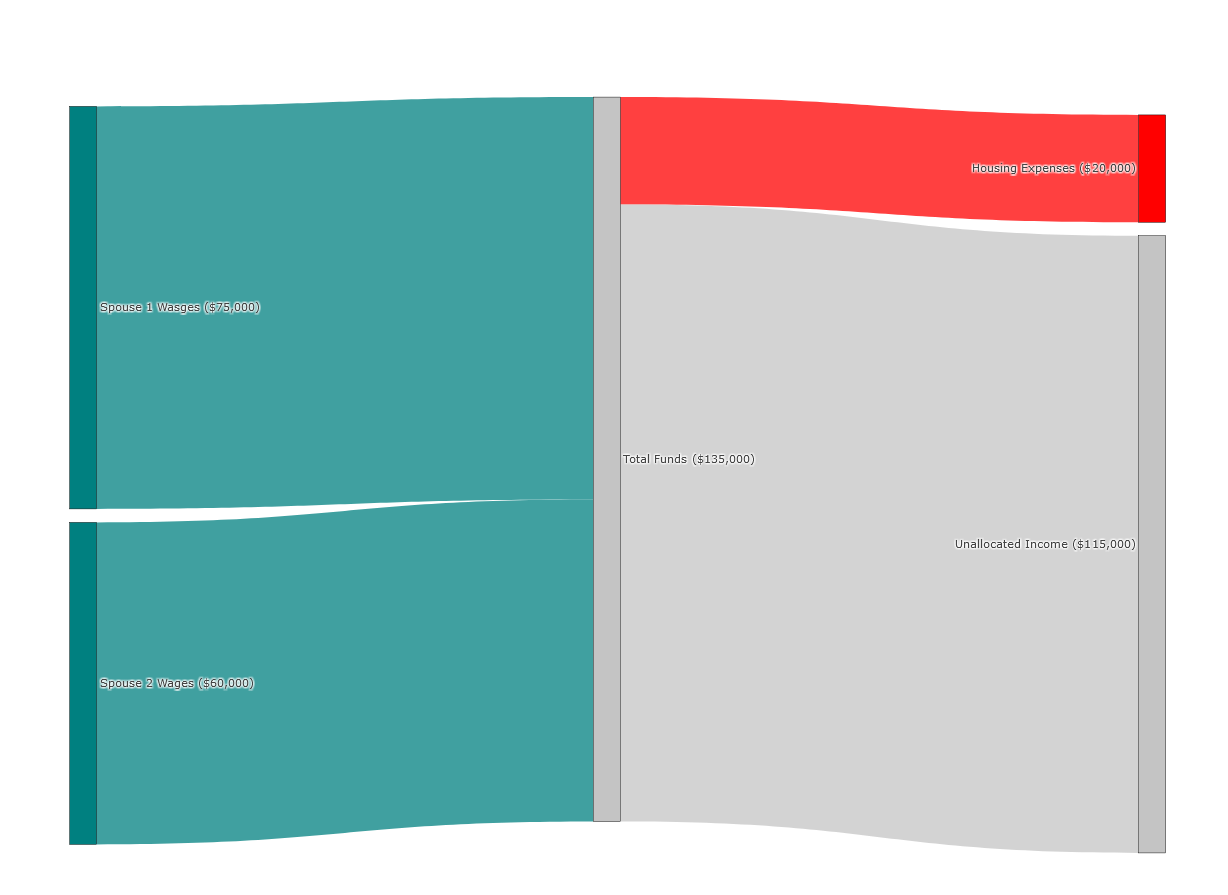
To add an expense, click the "Add New Expense" button. The subsequent pop-up will ask you to name the expenses, provide an amount, and associate the expense with a color. As an example, let's add "Housing Expenses" for $20,000:
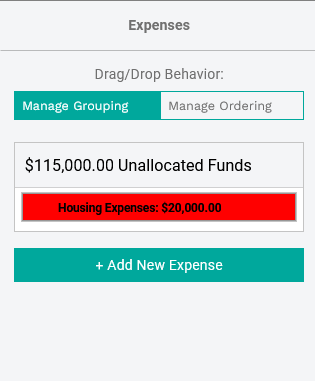
When we hit "Save", the expense will show up in the Expense tool bar as well as on the cash flow diagram. Additionally the amount of Unallocated Expenses will change accordingly in both places:
To add a sub- income or expense item, right click on the respective income or expense item. You will select the option to "Duplicate Node" from the list of options (see image below).

This will create a copy of the duplicated node with the same color. You will want to click on the copied node in order to change the name of the income or expense subcategory and add the respective dollar amount, as shown below:

To delete an income or expense item, right click on the respective income or expense item. You will select the option to "Delete Node" from the list of options (see image below). The subsequent pop-up will ask you to confirm you wish to delete the node as all information contained in that node will be deleted. Once confirmed, the income or expense item will disappear from your Cash Flow diagram.
